One of the most common reactions people have to our 4Runner is wanting to know about the table on the back. We have a pretty unique rear bumper and it draws a lot attention. High-clearance steel off-road bumpers with a swing-arm tire carrier are a dime a dozen, and we have one. Ok that’s not actually true, they are common but incredibly expensive. What makes ours so different is that it also has a tailgate.
What:
Our 4Runner’s rear bumper is handmade in Baton Rouge Louisiana, “Trailgator 2.0” from Southern Style Offroad. Unfortunately, it was a short lived product with only a few ever having been produced. Due to the complexity of the design and the extremely labor intensive manufacturing process, they deemed it to be too impractical to continue building them. We absolutely love ours, but we get it, business is business. We’re just happy to have lucked out on the right timing to be able to own one.
Why:
Our Trailgator 2.0 is such an integral part of our 4Runner build that it’s hard to imagine being without it. The tailgate is super versatile. Check out how we use it:
- A table for prepping food.


- A flat sturdy surface to cook on.


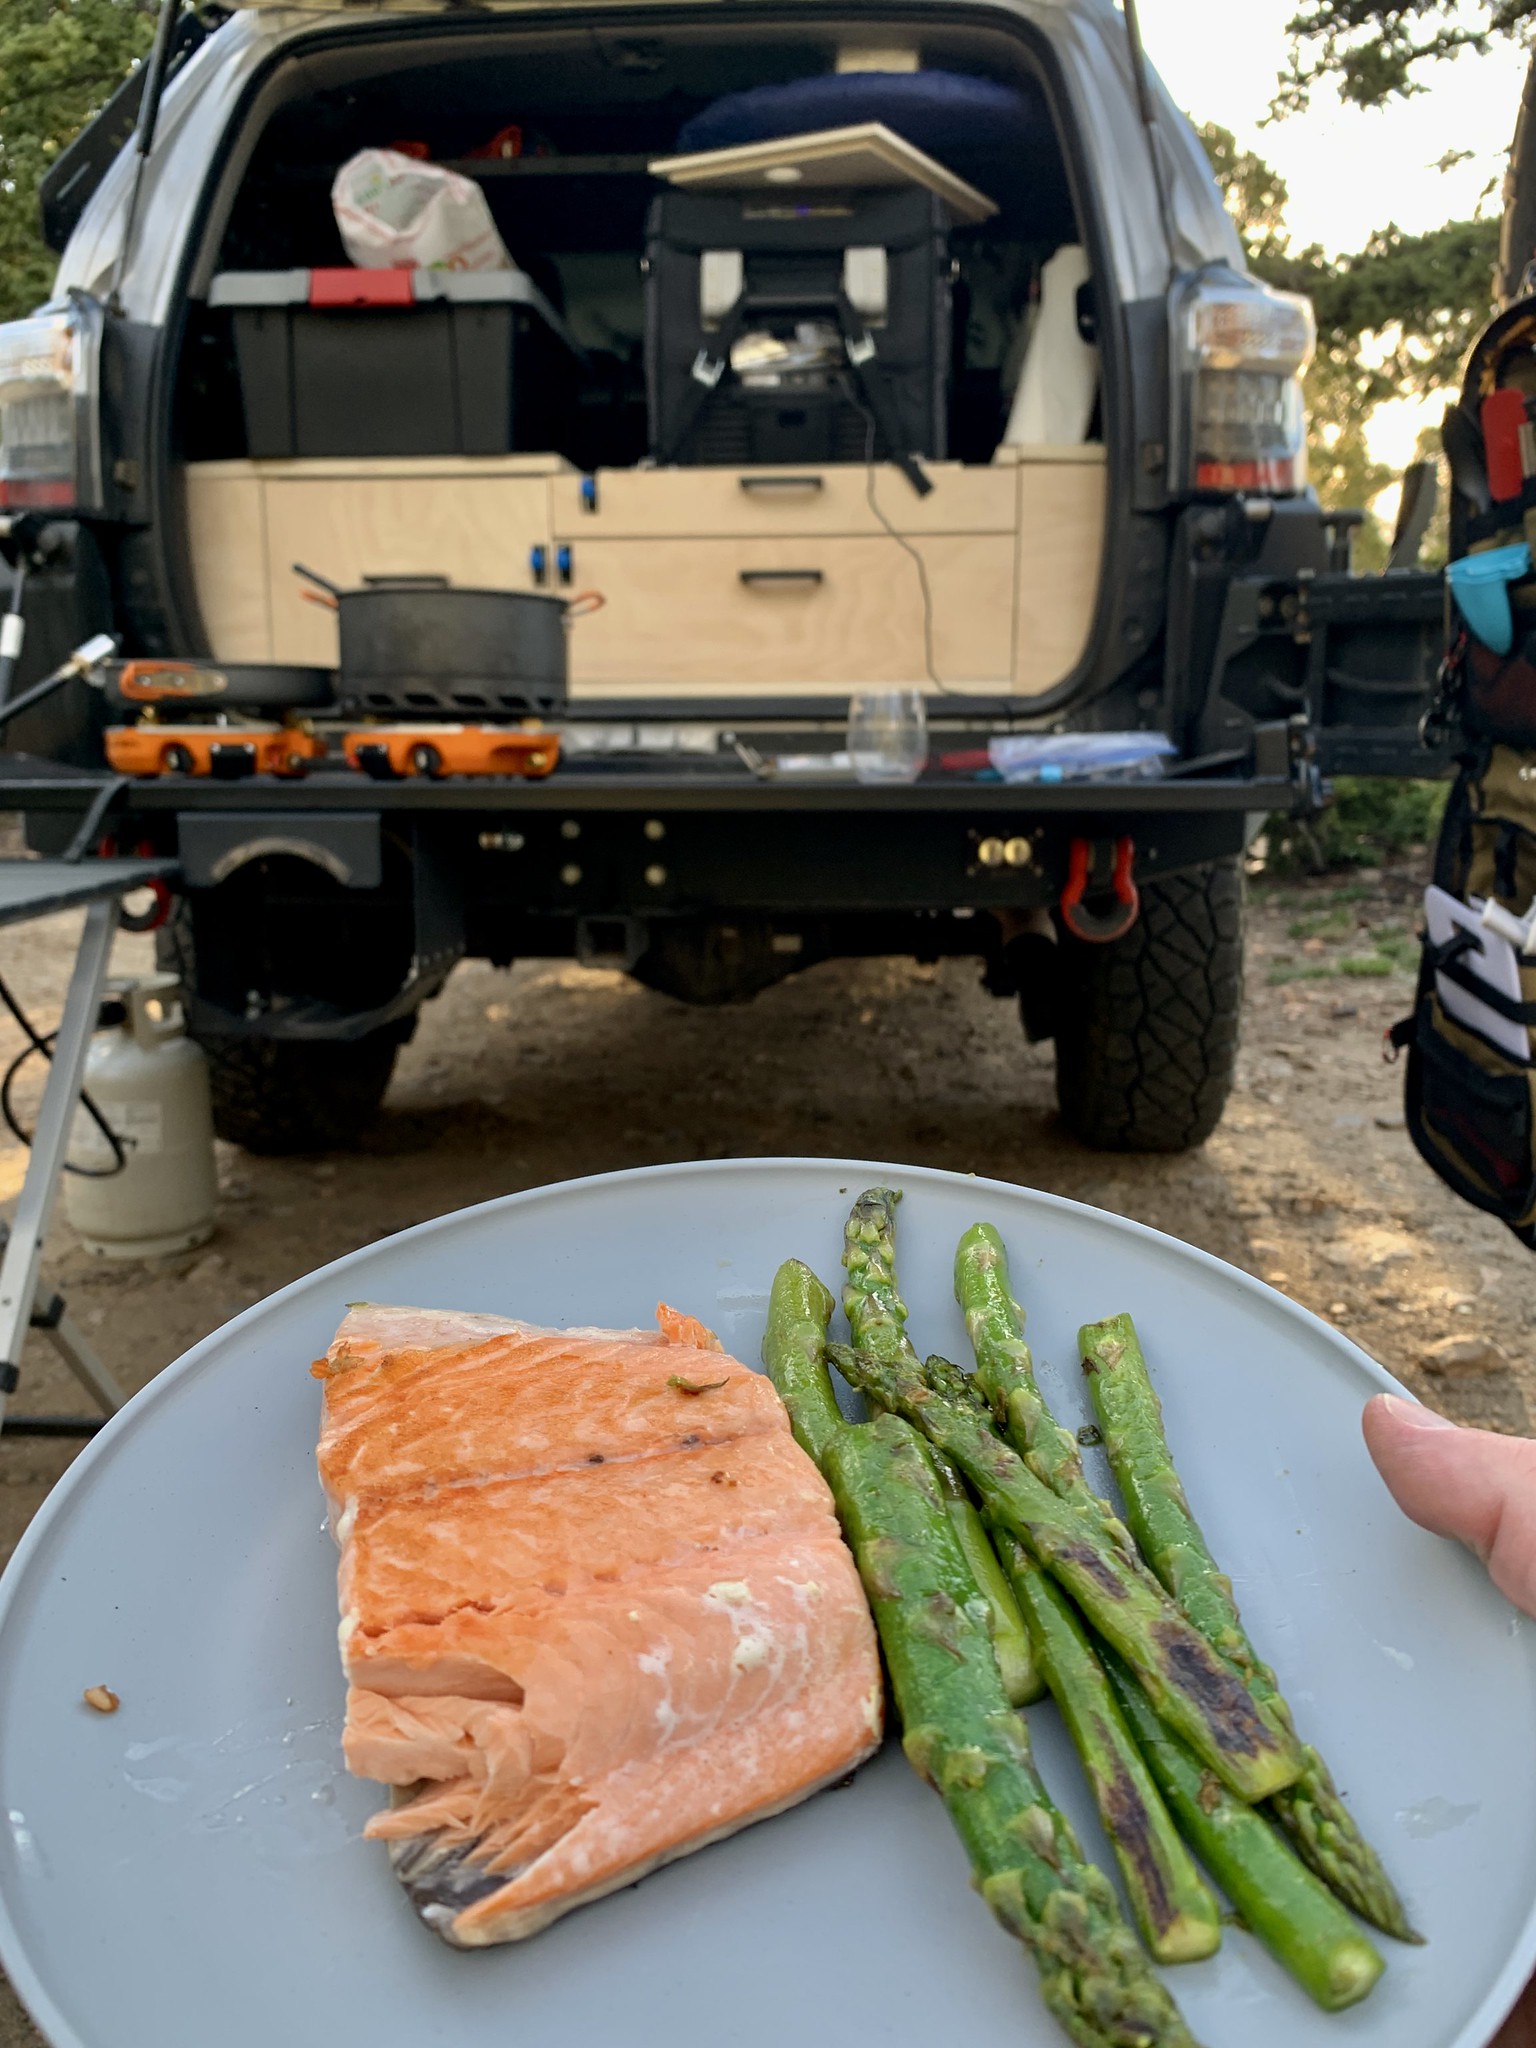
- A platform to stand on during cleaning or for passing things in and out of the tent.

- A bench to sit on.


- Plus it carries the propane tank we use for our thermostat controlled forced air tent heater, fire-ban-legal fire pit, and all of our cooking needs.


How:
After placing the order for the bumper the waiting game began. After 10.5 months and a comical amount of mishaps — COVID-induced metal shortages, multiple SSO evacuations because of hurricanes, and a pretty major shipping snafu, I finally had my bumper. To their credit, SSO owned their self induced delays and they stayed very on top of updating me, even on the things outside of their control. They are a great company with good people. I appreciate their very personal, small business approach.
Check them out at www.southernstyleoffroad.com
When this giant pallet showed up it was time to get to work.

First step was to tear down and then clean the rear.

The weight of the bumper meant the installation required a couple extra sets of hands. My friend made quick work of grinding the weld on the bottom side of the frame rails flush while I started working on masking the the 4Runner and prepping for paint.


Once the paint dried the actual install was quick and easy. The key takeaway here is large, consistent gaps. Tight fitting panel gaps might be visually appealing but WILL result in damage in body-on-frame applications. The body mounts to the frame via large rubber bushings. The body moves a little bit in relation to the frame as those bushings flex. The bumpers are solid-mounted to the frame, meaning the body will also move a little bit in relation to the bumper. If the gaps are too tight the bumper can crack the taillights or contact the body causing paint damage, which gives rust a place to start forming.

With the easy part done, it was time to tackle the electrical tasks:
- Licence plate light relocation with a quick disconnect
- Rear view camera relocation with a quick disconnect
- Bumper mounted reverse light on the right
- Bumper mounted rear fog light on the left that is controlled by the OEM fog light switch
- Waterproof connections on all of the wiring so the bumper can be removed in the future if needed
Part 1 – Rear Fog Light and Reverse Light Rear Bumper Wiring
Part 2 – Back Up Camera and License Plate Light Swing Arm Wiring
Part 3 – Wiring Is Done
We’re going to wrap this up with a little tease for all of you wishing you could get your hands on one of these…

Email, call, message, or comment, but hit them up and let them know there’s a demand for the Trailgator. And tell them A Guy A Girl and A Trail sent you!
